How to leverage online video testimonials to promote your dental practice
By trade, I am a marketer, and I recognize there’s often a palpable tension between effective promotional efforts and being viewed as a respected clinician. I’ve come to accept that some dentists abhor marketing—others embrace it. Perhaps it’s blind optimism, but I believe that tactful marketing efforts can coincide with being a well-respected clinician among peers and the general public. If you disagree and feel that dentistry was a better profession without marketers, I would respect that thought. However, with today’s level of competition, running a practice without marketing is a difficult route to go.
Over the last few years, video has become a vital tool in promoting your practice over the Internet. Short of meeting face-to-face with a potential patient, video is the most influential, effective way to encourage people to consider making an appointment with your practice.
Why should you read this column about online video marketing?
Ever since Google started giving more and more attention to its blended results, you have had an incredible opportunity to jump to the first page of results by creating video content. Studies have shown that videos were over fifty times more likely to appear on the first page of search results as part of the blended results.1
A third of all online activity is spent watching video; 80% of your online visitors will watch a video, while only 20 percent will actually read content in its entirety; 90% of users say that seeing a video about a product is helpful in the decision process.2
What do you need to film dental patient testimonials?
- A video/photo release form that the patient signs before any footage is shot. Rocketlawyer.com states that release “grants you permission to use the likeness of another and helps protect you in case they change their mind down the road. Whether it’s for your website, a promotion for your small business, or for your multi-million dollar advertising campaign…when you have a release signed, it’s yours to use.”3 While it’s tempting to skip this step, it can disastrous if your patient decides later that she/he does not want to be featured in your video. There are a number of free video/photo release form templates on the Internet. However, before settling on one, you may want to run it by your attorney.
- A video or DsLR camera, or a newer smartphone that can shoot in high definition (HD).
- A microphone. Like the photo release form, it’s easy to skip this item, but videographers will tell you that while your audience may overlook slightly blurry or shaky footage, bad audio is unforgivable. Amazon, Monoprice, and a number of online superstores carry inexpensive wired Lavalier microphones for under $30 (make sure the mic will work with your camera or phone before purchasing it). More expensive shotgun, wireless Lavalier, and omnidirectional mics are available, but not necessary for patient testimonials.
- A tripod. These can also be purchased on Amazon, Monoprice, and a number of online superstores for under $30. You may need to purchase a special attachment to mount your smartphone to the tripod. If you search for “smartphone holder tripod adaptor” you’ll find a number of inexpensive options.
What is the process in filming dental patient testimonials?
1) Decide which one of your patients you’d like to feature in a testimonial. Give some real thought to this rather than taking whoever you can get. Selecting people who are comfortable on camera, who love your practice, and who represent the patient demographics you’re looking for will make a profound effect on the success of your video.
2) Let your patients know ahead of time (a few days before they come in for their appointment) that you’d like to know if they’ll be open to share a few thoughts about what it’s like coming to your office for treatment. If you ask patients too far in advance, they’ll forget. If you ask them while they’re already in your office, they won’t have had the luxury of wearing nice clothes or fixing their hair (neither of which might matter to you, but they might mean a lot to your patients). As a last note on this point, avoid asking patients for an “interview” or “testimonial.” Both of those words make people nervous. Ask your patients if they “would be open to sharing their feelings about why they like your dental practice.”
3) Allow your patients to say “no.” The last thing you want to do is to pressure a valued patient into something that is uncomfortable for them. Have your front office person gently ask the patient, “Would you still be open to sharing a few thoughts about what it’s like to be a patient of Dr. Milton’s today?”
4) As to when you should shoot the video, there isn’t exactly an exact rule to follow. Typically it’s best to film a testimonial after someone has experienced the product/service. However, patients who’ve just had extensive treatment, nitrous oxide, or local anesthesia, will not want to sit in front of a camera. Consider shooting the video before they begin treatment.
5) As to where you should shoot the video, again there isn’t an exact rule, but there are a handful of guidelines to follow:
a) Make sure the area you choose is at least semi-private. Giving a testimonial while being watched by other patients or staff will be nerve-wracking for most people.
b) It may be tempting to video the patient in an operatory, but keep in mind that patients might not feel comfortable in that space—especially if they are seated in a dental chair.
c) Wherever you shoot the video, clear away clutter in the background that might distract viewers. At the same time, avoid filming a patient sitting right up against a solid wall. While you won’t have any clutter in the shot, these videos tend to look like police mug shots. Make sure the chair where your patient is at least three feet away from the background behind her/him, and look for a background to use a background that’s interesting but not distracting.
After you’ve filmed the dental patient testimonial videos, what should you do?
After you’ve gathered 2-5 testimonials, you can begin to put together your video. I would suggest that you use a video editor like Apple Movie, Vegas Video, or Adobe Premiere. However, there are a number of editors available as applications (apps) on iOS, Android, and other mobile platforms. There are even free video editors on downloads.com. Whatever video editor you use is up to you, but there is definitely a value of editing/cleaning up/and shorten the testimonial. Be mindful not to over edit your clips so that they looked dishonestly manipulated to your audience. Try to keep each testimonial between 20 seconds and a minute. Note: while it is advisable that you edit your clips, you don’t have to.
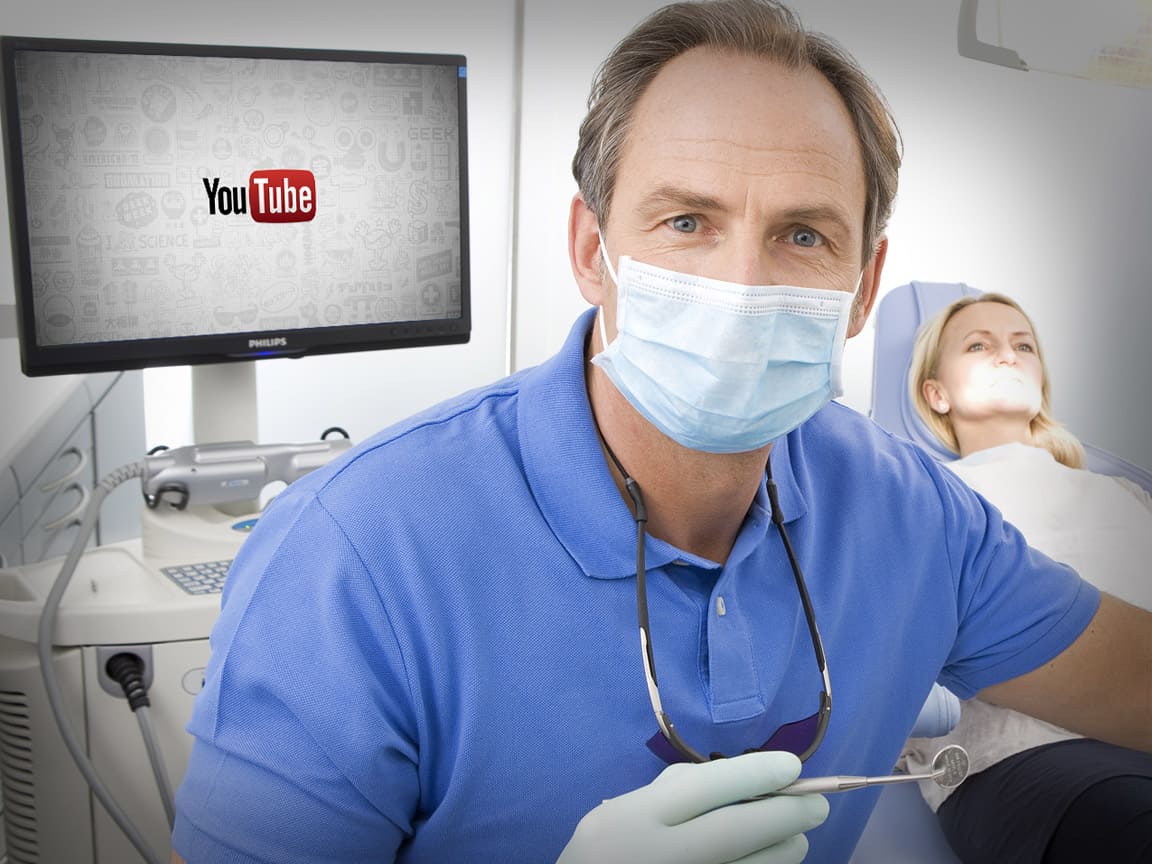
Last, share your clips on your practice website, on social media platforms like Facebook and Twitter, and create a YouTube channel for your practice—where you can upload and share you videos. Again, make certain you’ve consulted with your attorney, and you’ve received a signed photo/video release for every patient testimonial you captured.
See dental patient testimonial videos I’ve filmed.
You might also want to check out my top ten tips for getting great patient testimonials article
References for this dental practice marketing article
1 http://www.quicksprout.com/2012/03/19/how-to-rank-on-the-first-page-of-google-through-videos/
2 http://www.digitalsherpa.com/blog/25-amazing-video-marketing-statistics/
3 https://www.rocketlawyer.com/document/photo-release.rl